* We independently evaluate all recommended products and services. If you click on links we provide, we may receive compensation.
Knowing how to wire a light switch often comes in handy. It is a simple process that with the right steps and knowledge allows you to get the job done. While you can hire an electrician for this purpose, it can very easily be taken as a DIY project. Most homeowners are equipped with this skill but in this article, we will explain the process step-by-step if you are new to this.
We will divide the steps into wiring light switches for a standard, three-way, and four-way one. The instructions or manual that come with your light switch are also important as there can be slight variations depending on the type of light switch you get. It is important to wire a light switch the right way otherwise you could potentially cause electrical damage which can end up in a fire as well.
Before beginning some precautionary steps will also be undertaken for your safety.
The following tools will be required:
- Head Screwdriver
- Wire nuts
- Current detector
- Needle nose pliers
- Electrical tape
- Wire strippers
- Preliminary steps(Step 1)
- Wiring a standard/single light switch (Step 2)
- Wiring a three-way light switch (Step 3)
- Wiring a four-way light switch (Step 4)
Step 1: Preliminary Steps
The following steps need to be undertaken before you begin wiring your light switch
Safety Measures
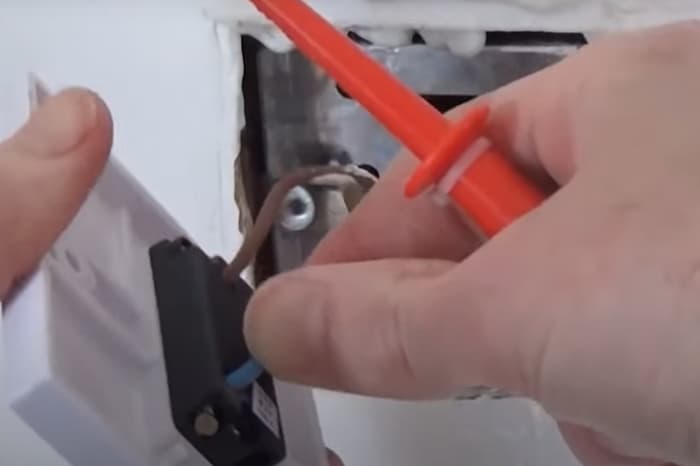
Turn off the main breaker’s power the first thing you do before engaging in any electrical DIY projects. Then remove the switchboard’s cover and with the help of a current detector make sure there is no power going in the electric box wires. Once you have made sure there is no power, you must only then move to other steps.
Basic knowledge of wiring light switches
Before indulging in the wiring, you should have some knowledge about the wires:
- Black – It is the load or hot wire
- White – It is the neutral wire
- Green or bare copper – It is the ground wire
- Red – It is used when the switch is 3 or 4 way one. It connects switches and allows you to control the lights.
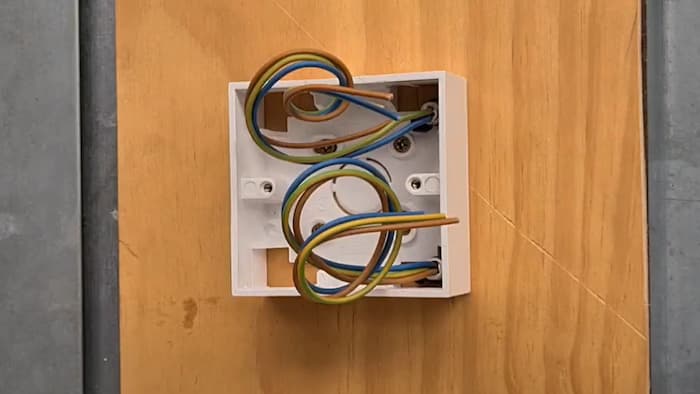
Removing old Switch
With the help of a screwdriver, remove the screws holding the switch in place. Loosen and pull the switch out from the wall and you will have the wires in your reach.
How it is wired
If you are replacing an old switch, then taking note of the previous wiring is also important. Especially knowing where the black and white one is connected. In case it is a three-way switch then look at how the other wires are connected. This is useful as you will have to follow the same wiring when installing a new one.
Stripping the wire
Checking the gauge of your wires before beginning is a must. Usually, it is either 12 or 14 gauge. Next, with the help of wire strippers strip about 5/8 of one inch of insulation. Most wire strippers have marked spots for each wire gauge. Then bend the wire in a loop so that you can attach the screws to the light switch. You might not have to use the screws if your switch has slots in which the wires go straight in.
Step 2: Wiring a standard/single light switch
This switch is wired differently from others. Here’s how:
The wiring
All you need to do with this single pole switch is connect the black wire into the switch, and then out to the lights. The switch cuts the power from going to the light switch. Meanwhile, the white wire passes through the switch and straight to the light. The white wire helps complete a circuit. The ground wire – which is often coated in green plastic – needs to be connected to the switch and the lights.
Post wiring
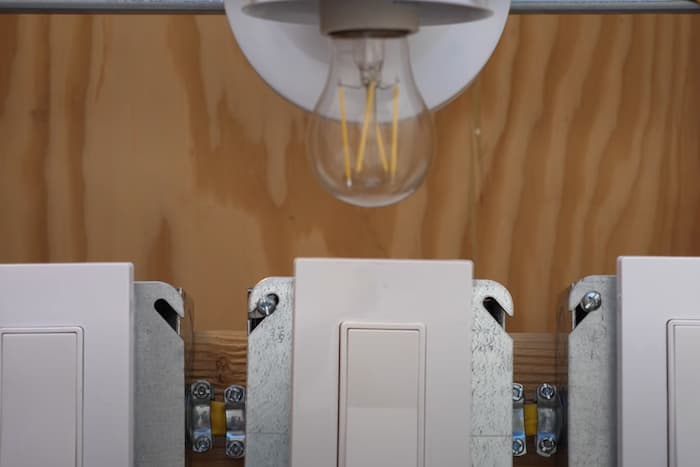
After wiring the light switch, wrapping the switch in the electrical tape is a good idea as It protects the connections from an arc if the electric box components become loose. Testing the new switch is a good idea too. Turn the power back on from the circuit breaker and check if it is running properly or not.
Step 3: Wiring a three-way light switch
A three-way light switch is similar to the single-pole one, but with slight variations.
The wiring
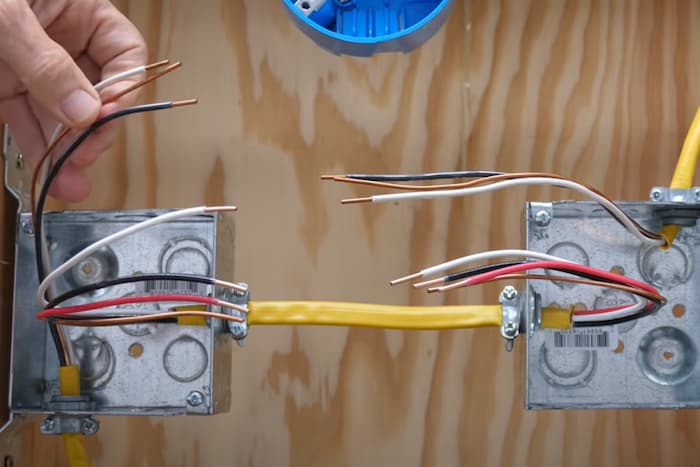
A three-way switch has two switches that help control the light (or collection of lights). It is called a three-way switch because the two switches along with the light are considered to be three-way. Apart from that, there is also an additional red wire which connects the switches to input or screw – usually marked for clarity.
The connection
The three-way switch comes with traveler screws, also known as connection points. These are used for wiring one switch to another so that lights are functional no matter which switch is being used. Meanwhile, the white wire here is used as a connector only and does not touch the switch itself, as it does in the single pole light switch wiring. The black wire is connected to the screw (black), found on the switch.
Essentially, the main wire is a collection of black, ground, red, and white wires that go from one switch to the other.
Step 4: Wiring a four-way light switch
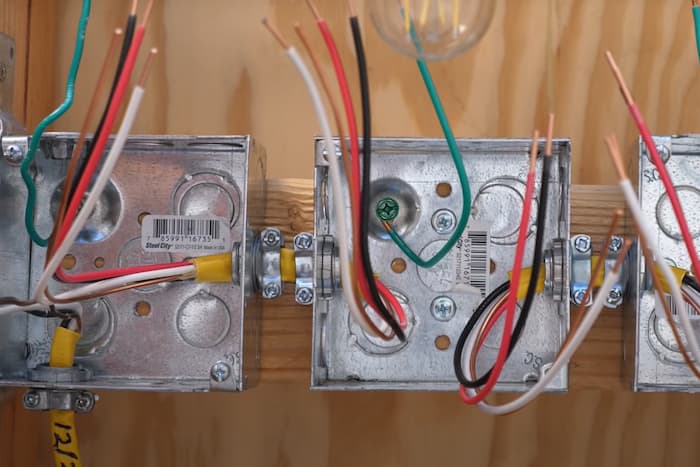
Installing a four-way one is much more complicated than the above-mentioned. It is also better to do it during new construction instead. However, you can also wire it by adding a switch to a three-way switch as well. This helps to control the load from more than one location apart from the 2 switches that the three-way switch allows you to do.
If you are interested in DIY home improvement, read more articles in our site: How to Install a Window Air Conditioner, Step-by-step Instructions on How to Install a Thermostat, DIY Guide for Installing a Bathroom Exhaust Fan in Simple Steps.