
* We independently evaluate all recommended products and services. If you click on links we provide, we may receive compensation.
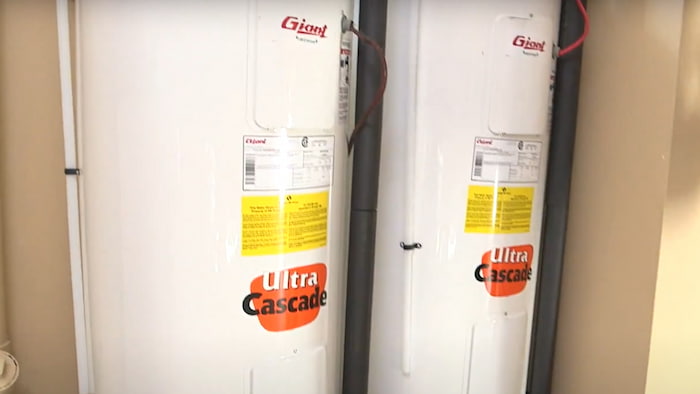
Water heaters are often accompanied by a large tank for when you need hot water. However, over time mineral and limescale deposits settle at the bottom and eventually clog the water lines. In addition, over time, the water heater tank carries a lot of sediment and minerals, especially if you live in a hard water area. These sediments collect at the bottom of the tank and can cause potential problems such as:
- corrosion in the tank leading to leaks
- less hot water
- decrease in the efficiency and capacity inside the tank
- clog the drain and prevent maintenance
- popping noise due to the trapped air in the sediment
- greater utility bills
Therefore, draining a water heater is necessary every 6-12 months; otherwise, it will be very taxing – both cost and energy-wise. Doing this requires minimal effort and can be done as a DIY task with just a few household supplies. However, sometimes it is not a great idea to do this yourself. For instance, if you feel uneasy performing it yourself, you should just get a professional to do it and not take the risk. Moreover, avoid it doing it yourself if you have never done it before.
Another scenario where you shouldn’t be doing this yourself is if there are many tin leaks caused by sediment buildup over the years. After removing the sediment, you will be left with a leaky water tank which can be quite dangerous.
In this article, we will help you guide how to drain a water idea step-by-step. We will divide it into preliminary steps and the process itself. You will need the following materials/tools before you begin:
- Adjustable wrench
- Flat-head screwdriver
- Bucket
- Garden hose
- Preliminary Steps
- Draining a Water Heater
Preliminary Steps
Before we delve into the instructions of draining a water heater, a few steps should be taken into considerations first.
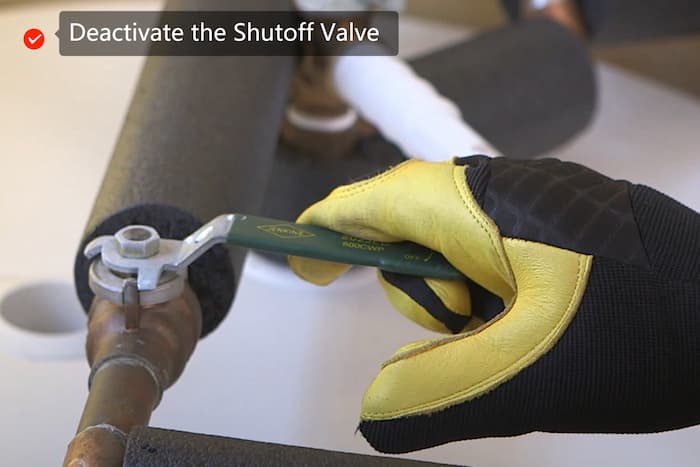
1. Deactivate the Shutoff Valve
While this is not necessary, it is still recommended to locate your shutoff valve for the main supply. This is usually a good step to take for all kinds of plumbing fixtures. It temporarily stops the water flow through the pipes, and better to do it before than to do it in the middle in case the need arises.
2. Safety Measures
Since the whole process of draining the water heater involves hot water, it is best to turn off the hot water a few hours before you begin. Then, make sure the water in the tank is cool. However, if you forgot to do so or if it is not possible, then wear heavy-duty rubber gloves to make sure your hands do not get splashed with water. Moreover, wearing safety goggles if the water hasn’t cooled down is also a must; otherwise, the hot water can splash into your eyes.
Draining a Water Heater
After making sure you have the list mentioned above of tools and equipment and going through the preliminary steps, you may begin the very process itself.
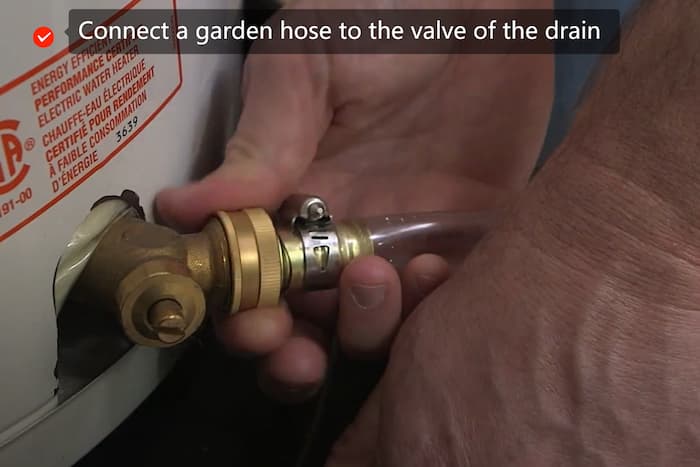
1. Quick Flush
Before shutting off the water supply, flush the tank first by connecting a garden hose to the valve of the drain. Open the valve for a couple of seconds and then shut it again. This produces pressure which will help blow out the deposits and sediments settled at the valve. This will aid in draining the tank faster. Repeat this process to make sure all sediment is removed.
You also need to place the other end of the hose into a bucket or another location where the sediment will be deposited. Next, you need to shut off the water, either the house's main valve or the cold-water valve. Finally, double-check by testing any faucet in the house that the water is no longer hot. The water may gush out, but if it trickles slowly, then it’s been shut off. Moreover, keep a hot water tap running so that the heater alleviates any pressure left in the system.
2. Open the valve to the drain
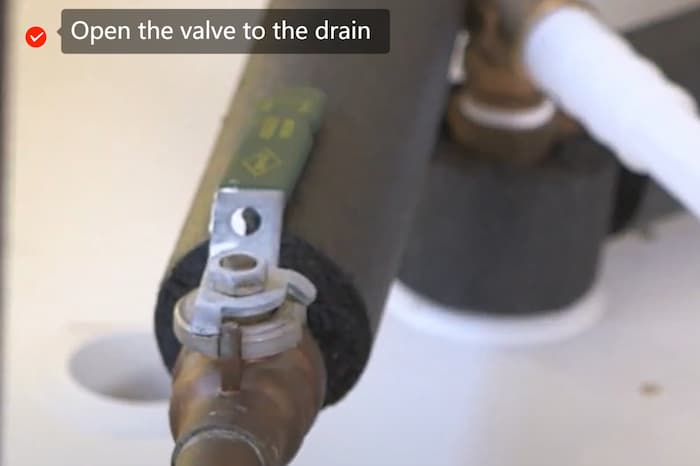
While the garden hose is attached, the drain valve needs to be opened. This can easily be done with the help of a flat-head screwdriver, although it can also be done with hands. After opening it, the water will be released, which is why you should have a bucket handy that the garden hose is released into. Keep emptying the water bucket until the tank isn’t empty.
3. Flushing the tank
After draining the tank, add a few gallons of water by turning on the water for a couple of seconds so it gets flushed. Then, let the water drain out once again and repeat until the flushed water isn’t clear. Only then move on to the next step.
4. Refilling
After the tank has been thoroughly flushed, disconnect the hose, and shut off the valve to the drain. Make sure all the hot water taps are closed except one – ideally the one that is closest to the water heater. Usually, the bathtub one is the closest.
Next, turn the heater on again and monitor the changes in temperature of the tap that is running. If nothing except the water is coming out from the fixture, then turn it off.
5. Turn on the water heater
Switch on the water heater pilot and light it again, or if you have an electric one, turn its power on. You should have hot water again after about an hour.
6. Inspect the Drain Valve
Make sure the water heater’s drain is closed correctly and inspect it for any leaks in the spout. If it is not appropriately closed, place a threaded cap over the hose outlet to prevent the leak from affecting the efficiency. Alternatively, you can also replace the valve instead.
If you want to renovate your bathroom, these articles may also help: How to Replace a Toilet, and How to Install a Steam Shower.