* We independently evaluate all recommended products and services. If you click on links we provide, we may receive compensation.
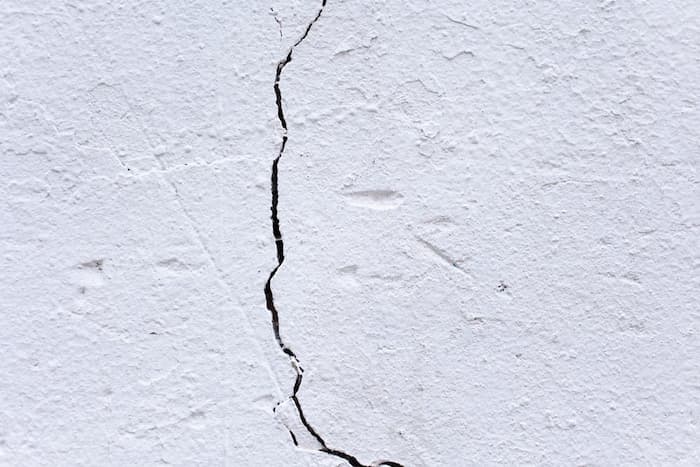
If you're looking at damaged ceilings and walls at home, it's time to do some repairs. The interiors of most homes are covered in Gypsum wallboard, commonly referred to as drywall. Drywall is durable to a certain extent, but after a few years, you are bound to see some cracks, holes, and scratches, especially if you have toddlers or pets who are a nuisance.
Fortunately, the majority of the drywall damage is repairable. You only need basic tools, the right materials, and a few tricks to use. This step-by-step DIY guide will teach you how to repair small patched holes, large holes, and corner bead repair, but first, assess the damage.
Examine The Damage
Before you go towards the local hardware shop, be sure to look at the extent of the damaged drywall you're looking at.
Only a few nail holes? You'll require a joint compound, also known as spackle, a putty knife, and the Sanding block.
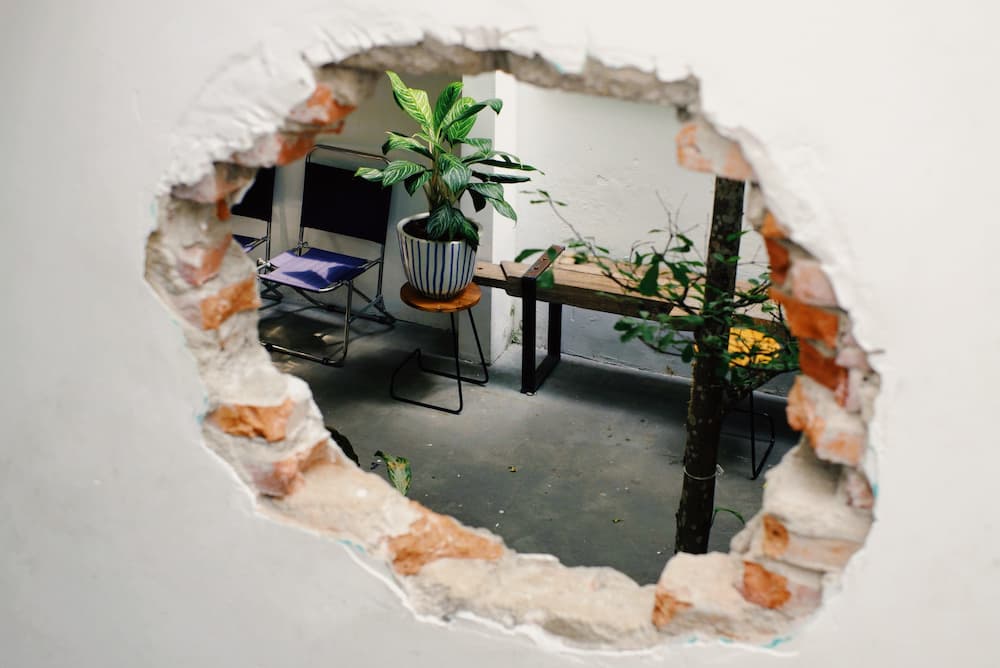
Do you have a big hole? You will likely require more than what is necessary. Anything bigger than a nail hole usually requires mesh tape to reinforce and keep the drywall mud. Mesh tape is perfect for deep cracks or coins-sized holes. Much larger holes require an additional patch of drywall.
Material required
- drywall saw
- reciprocating saw
- electronic stud finder
- hacksaw
- pry bar
- tape measure
- aviation snips
- carpenter's square
- drywall corner bead string
- fiberglass drywall tape
- drywall
- wood cleats
- joint compound

1. Repair Small Patched hole
- Create a slightly bigger patch than the hole out of drywall scraps of the same thickness as the wall. The patch should be placed over the hole, then trace the area around it using the pencil.
- Cut along the lines using the drywall saw and remove any damaged walls. Place 1"x 4" cleats into the wall behind the hole and attach them using drywall screws.
- Place the drywall patch in the hole, then attach it to the cleats using screws for drywall. The patch should be covered with joint compound, then place strips of drywall tape on the seams.
- Smooth the joint compound using the help of a six" drywall knife, and then allow it to dry.
- Apply two coats more using a 10" wall knife spreading the compound evenly over the adjoining surface.
- After the glue has dried, sand the compound smooth before painting and priming.
2. Repair Large Holes
The bigger the hole is, the more complicated the repair process will become. But, with proper instruments and steady hands, you can fix these yourself.
- Identify the Studs
Use an electronic stud locater to identify the studs behind the damaged drywall. Then utilize drywall or a reciprocating saw to tear away the drywall. Be cautious not to cut into the studs. Remove as much of the drywall as needed until you have reached the studs that extend beyond all sides of your damaged area. Remove the drywall and take away the nails and screws.
- Install Wood Cleats
Install wood cleats to the studs on both sides of the opening to help support the new drywall's edges vertically. If you're replacing a huge sheet of drywall, strengthen the opening by using 2x3 lumber. Cut the cleats about a few inches larger than the opening. Place the cleats in a straight line with the surface of the studs that are already in place and put them in place using a drywall screw or nail.
- Install New Drywall
Cut, measure, and install new drywall to match the repaired area. Make sure you use the same drywall as the thickness of the initially installed wall. Interior walls are usually lined with one-and-a-half-inch thick drywall. However, some areas need more hefty or safe drywall between a home and an attached garage. Use drywall screws to connect the drywall to Cleats and any studs in between, as in the new construction. Tape the joints and then apply joint compound according to the previous steps.
3. Corner Bead Repair
When two drywall sheets meet at an exterior wall corner, they're secured by a metal strip in the shape of an L called a corner bead. Corner beads are nailed to the corner and are then covered by three or two layers of joint compounds. The metal corner bead is robust, but it's not indestructible.
- Cut The Corner Bead
Use a hacksaw to cut the corner bead, approximately 2 inches between the damaged and un-damaged section. Next, you will need a blade to slice along the side of the vertical corner. Ensure that you cut through the joint compound. Take the broken piece of corner bead off the wall with a thin pry bar and a straight blade screwdriver. Make sure not to scratch the drywall surface around it.
- Fix the New Corner Section
Then, use aviation snips to cut a new corner section and replace the damaged piece. Set the piece in its place and fix it with one 1/2-inch-long drywall nails with very thin heads and flat sides, which are more easily concealed using joint compound than drywall screws. Use two to three coats to apply joint compound, making sure you smooth between the coats. Distribute the third coat using an eight-inch drywall blade. After that, prime and paint the drywall to match the original wall.
4. Extreme Damage
Sometimes, the damage is so severe that you are forced to contact professionals. The extremely large holes can indicate that the wall must be replaced completely, as the repair cost will be greater than the expense of replacing it. If your drywalls are going through water damage, it can destroy your wall from inside out. The affected area can be cut off and replaced if you catch it early enough. If the problem has been lingering for a long time, the wall may have reached the point of no repair. Again, this is something that is best left to the professionals.
