* We independently evaluate all recommended products and services. If you click on links we provide, we may receive compensation.
Security cameras are no longer just a luxury. With the cost of property crime and burglary continuing to rise, it is more important than ever to have the best possible security camera you can have installed in your home.
If you want to install a security camera, you might find it very difficult to get the right equipment. This is because there are a lot of different makes and models of cameras, so you need to know what you are looking for and how to perfectly install your camera either at your home or office. We got you covered. The following are some of the nuggets you’ll get in this post:
- Where to install a security camera
- How to install a security camera
Let’s dive in.
Where To Install a Security Camera
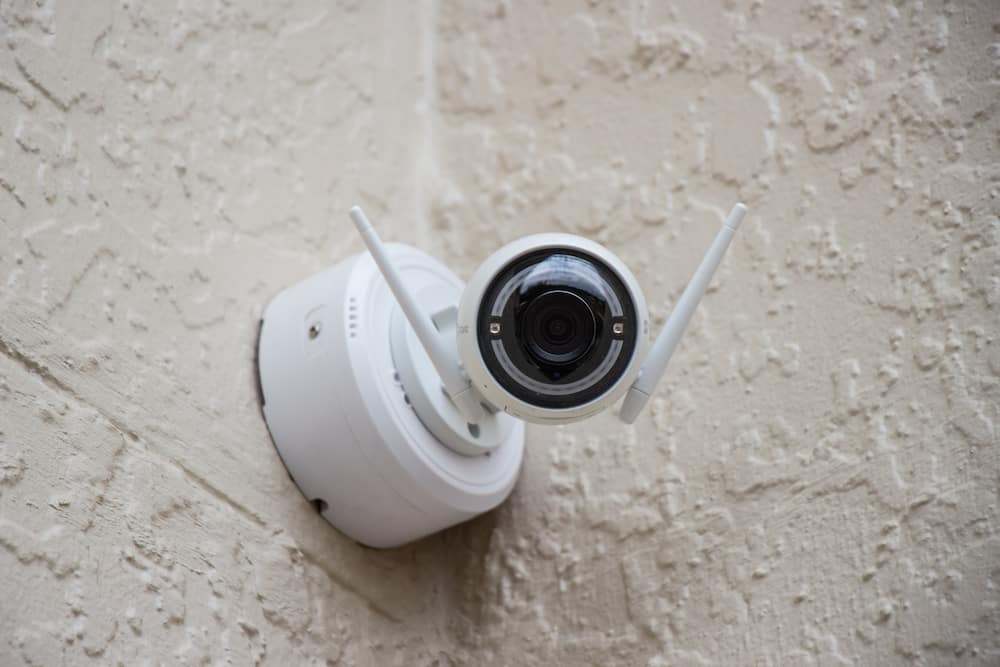
The best places to install a security camera are areas of your home or business with high traffic and high visibility. This means you’re free to place your camera strategically either inside or outside your home or business.
Placing Indoor Security Cameras
Indoor security cameras can be placed in several different locations inside your home, depending on your security needs. Some common places to put indoor security cameras include near entryways, in hallways, in living rooms and family rooms, and bedrooms.
You can also place indoor security cameras in your basement, garage, or any other room that you want to keep an eye on. When choosing where to place your indoor security cameras, be sure to consider the field of view that each camera has and how much light is available in the area.
To install an indoor security camera, you will need the following tools:
- A screwdriver,
- A drill, and
- A level.
First, find the spot where you want to install the camera. Then, use the screwdriver to remove any screws that are holding the cover of the camera in place. Next, use the drill to make holes for the screws. Finally, use the level to make sure the camera is level before screwing it into place.
Placing Outdoor Security Cameras
There are a few things to consider when placing outdoor security cameras, such as the best location for the camera and what type of camera to use. To get your outdoor security camera in place here are the best procedures to follow:
- The first step is to decide where to place the camera.
- Decide which type of camera to use.
- Once you've selected the right camera, the next step is to install it.
This usually involves mounting the camera on a wall or ceiling and connecting it to power. Some cameras also require an internet connection, so be sure to check the requirements before installation.
After your camera is installed, it's important to test it to make sure it's working properly. This involves checking the viewfinder or monitor to make sure you can.
How To Install a Security Camera
In this section, we will discuss how to install a wired and wireless security camera you might want to embrace for your office or home project.
How To Install a Wireless Security Camera
Looking to install a wireless security camera? Here is a step-by-step guide on how to install a wireless security camera and make it the best product it can be.
- Begin by positioning your wireless security cameras where you want them to be installed. Make sure that the camera is within range of your router or access point.
- Once you have positioned the camera, use the mounting hardware to secure the camera in place.
- Next, connect the power adapter to the camera and plug it into an outlet.
- Now it’s time to connect the camera to your wireless network. To do this, you will need the SSID (network name) and password for your network. The SSID can usually be found on the underside of your router or access point. Once you have this information, open the camera’s web interface and enter the SSID and password when prompted.
- After the camera is successfully connected to your wireless network, you can now access it using a web browser or mobile app.
- Finally, test the camera to make sure it is working properly and that you can view live footage from it remotely.
If in any case, a wireless camera is beyond your budget, continue reading to find out how you can install a hardwired security camera that best suits your project.
How To Install a Hardwired Security Camera
Wired security cameras are relatively inexpensive and easy to set up. They require an exterior outlet. They are not as easy to install as wireless security cameras, which require they be plugged in. The following steps walk you through step-by-step how to install a wired security camera:
- Connect the camera to the power source and the recording device.
- Run the wires through the walls or ceiling to the desired location.
- Once everything is connected, test the camera to make sure it is working properly.
FAQs about Security Cameras
What is the easiest outdoor security camera to install?
There are many different types and models of outdoor security cameras on the market, so it is difficult to say which one is the easiest to install. However, some models are designed for easy installation and come with all the necessary hardware and instructions.
These cameras can be a good choice for someone who wants to set up a security camera system quickly and easily.
Conclusion
Using a security camera is a great way to protect your property or loved ones and keep them safe. In this blog post, we’ve shared our expert opinion on how to install a security camera that is right for you and your needs.