


Tips for Finding the Best Nail Art Striping Tape Lines
Introduction to Nail Art Striping Tape Lines
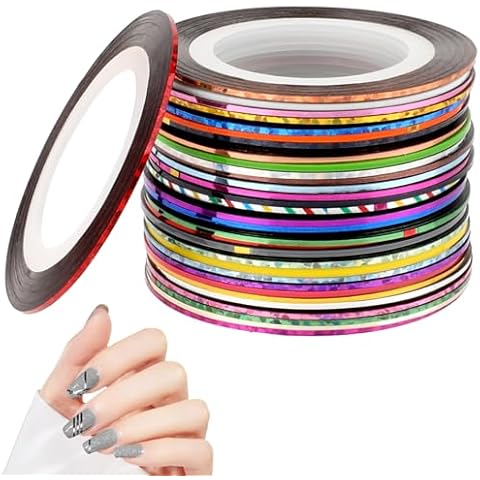
Nail art striping tape lines are an essential tool for any nail artist looking to create clean and precise lines in their designs. Whether you're a beginner or a seasoned pro, choosing the right striping tape can make all the difference in the final look of your nail art. In this article, we'll go over some key factors to consider when choosing striping tape, as well as some tips for using it to create beautiful nail art designs.
Factors to Consider
When choosing striping tape, the first thing to consider is the width of the tape. Striping tape comes in a range of widths, from super thin to quite wide, and the width you choose will depend on the design you're trying to create. For example, if you're creating a design with very fine lines, you'll want to choose a thinner striping tape. On the other hand, if you're looking to create bolder lines, a wider striping tape may be a better option.
Another important factor to consider is the adhesive on the striping tape. You'll want to choose a striping tape with a strong adhesive that will hold the tape in place while you're creating your design. At the same time, you'll want to avoid striping tape with an overly strong adhesive, as this can be difficult to remove and may damage your nails.
Tips for Using Nail Art Striping Tape Lines
Once you've chosen the right striping tape for your design, here are some tips for using it to create beautiful nail art:
-
Start by applying a base coat to your nails, and allow it to dry completely before applying the striping tape. This will help the tape adhere better and prevent it from lifting or peeling off.
-
Before applying the striping tape, cut it into the desired lengths using a pair of scissors or nail art scissors. This will make it easier to apply the tape in straight lines and will help you create more precise designs.
-
When applying the striping tape, start at the base of the nail and smooth it down as you move towards the tip. This will help prevent bubbles or wrinkles in the tape, which can ruin the final look of your design.
-
After you've applied the striping tape, use a nail art brush or dotting tool to carefully fill in the areas between the tape with the desired polish color. Be sure to work quickly, as the polish may dry too quickly and become difficult to work with.
-
Once the polish has dried, carefully remove the striping tape by gently peeling it off from the edge of the nail. Be careful not to pull the tape too hard, as this can damage the polish underneath.
Conclusion
Choosing the right nail art striping tape lines is an important step in creating beautiful and precise nail art designs. By considering factors such as the width and adhesive of the tape, as well as using the right techniques when applying and removing it, you can achieve stunning results with your striping tape. With a little practice and patience, you'll be able to create a wide range of intricate and eye-catching nail art designs.